MiniMonsters Scenery Base
Recently, I realised that I’ve been using MiniMonsters products for years and absolutely love them, yet I haven’t properly reviewed them on my blog. Time to fix that!
My journey with MiniMonsters began in 2017 when the brand sponsored a small Warhammer Fantasy Battle tournament I organised. At the time, I wasn’t sure what to expect.
I remember asking the owner if he had any preferences about showcasing his logo alongside other brands. His response? "Feel free to pair it with anyone else’s – I’m confident the quality of my products speaks for itself." And he was absolutely right.
Since then, MiniMonsters has become a staple in my collection and commission painting projects. Below, I’ve put together a detailed tutorial on how to create a scenic base for a large model – in this case, a Terrorgheist – along with examples of how I’ve used MiniMonsters products over the years. Let’s dive in!
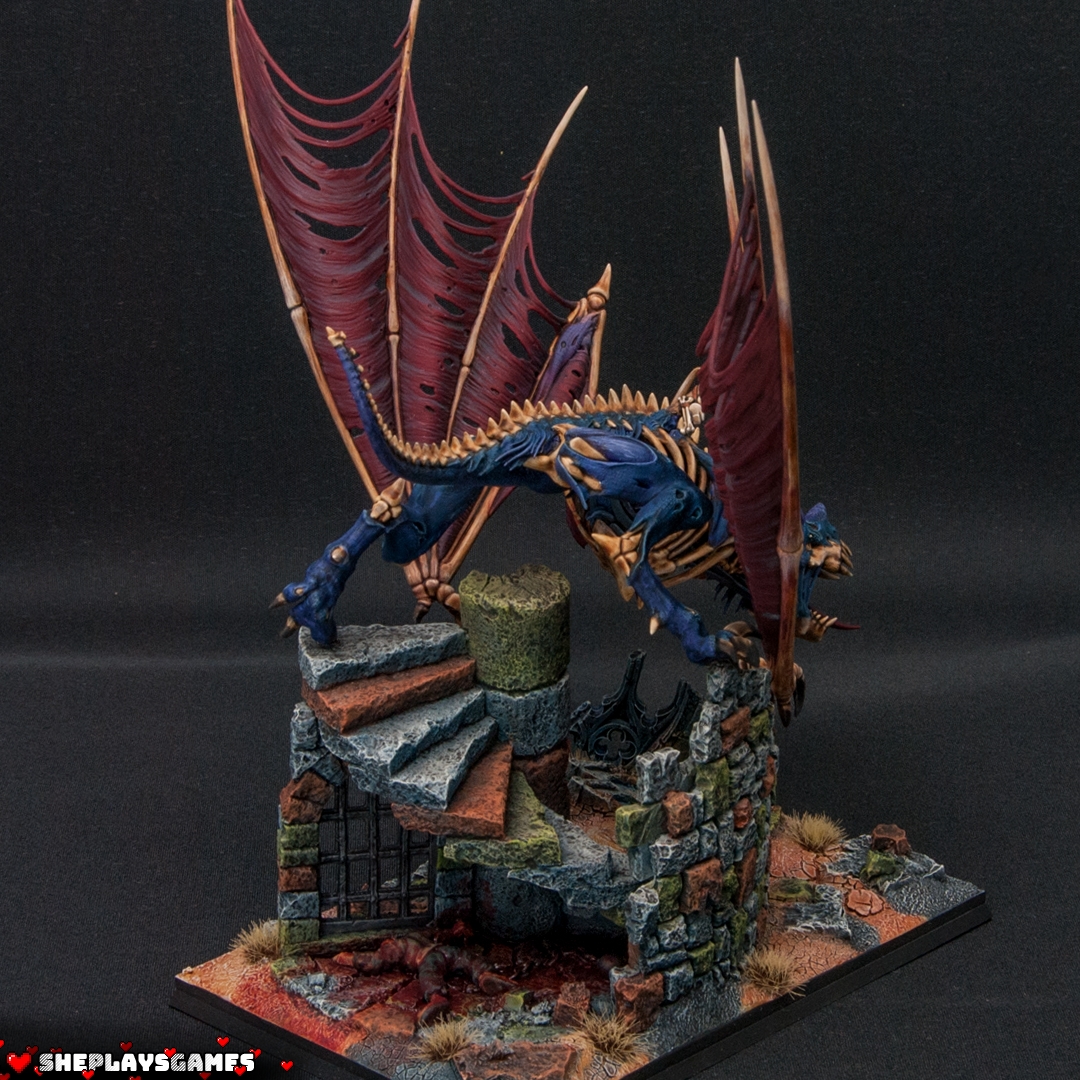
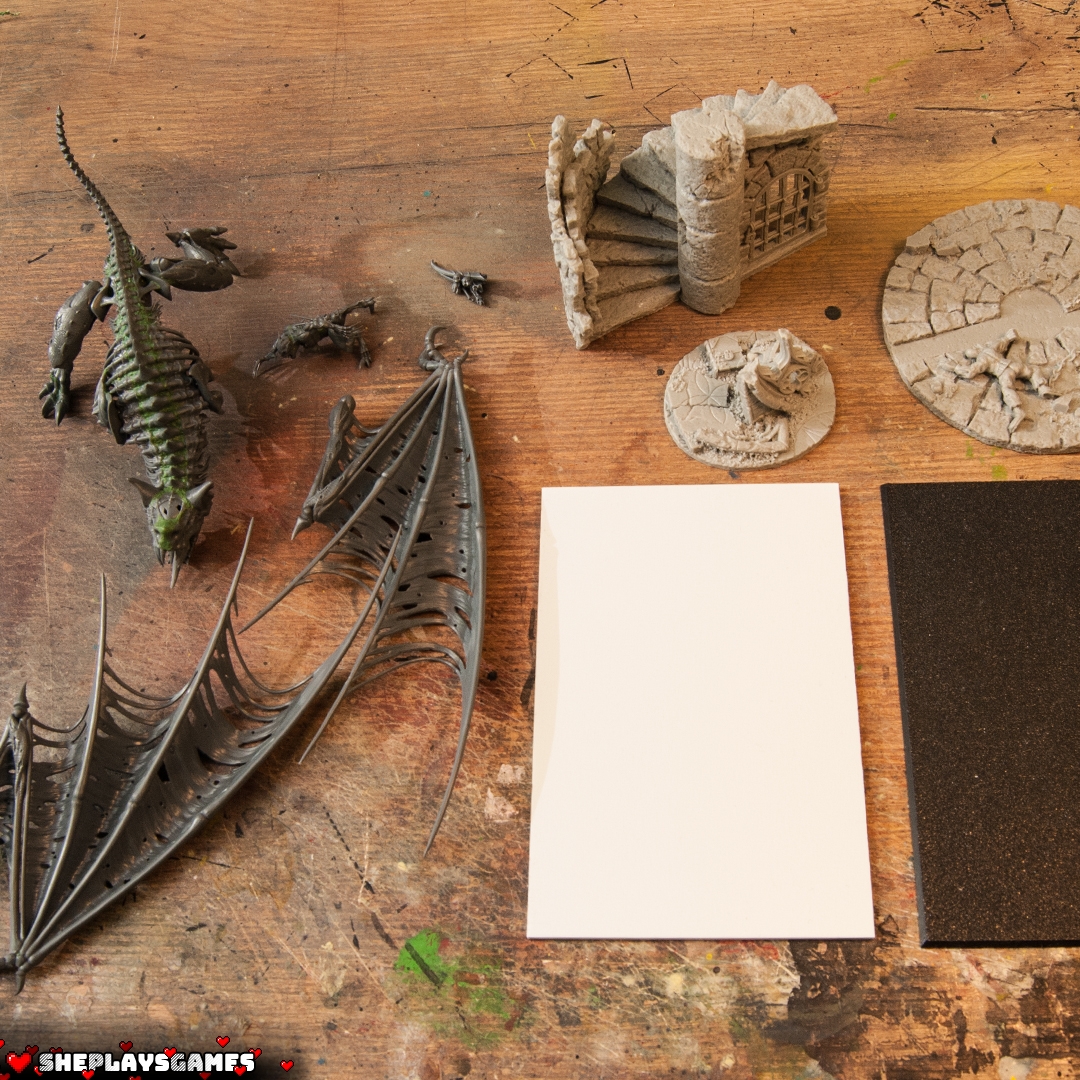
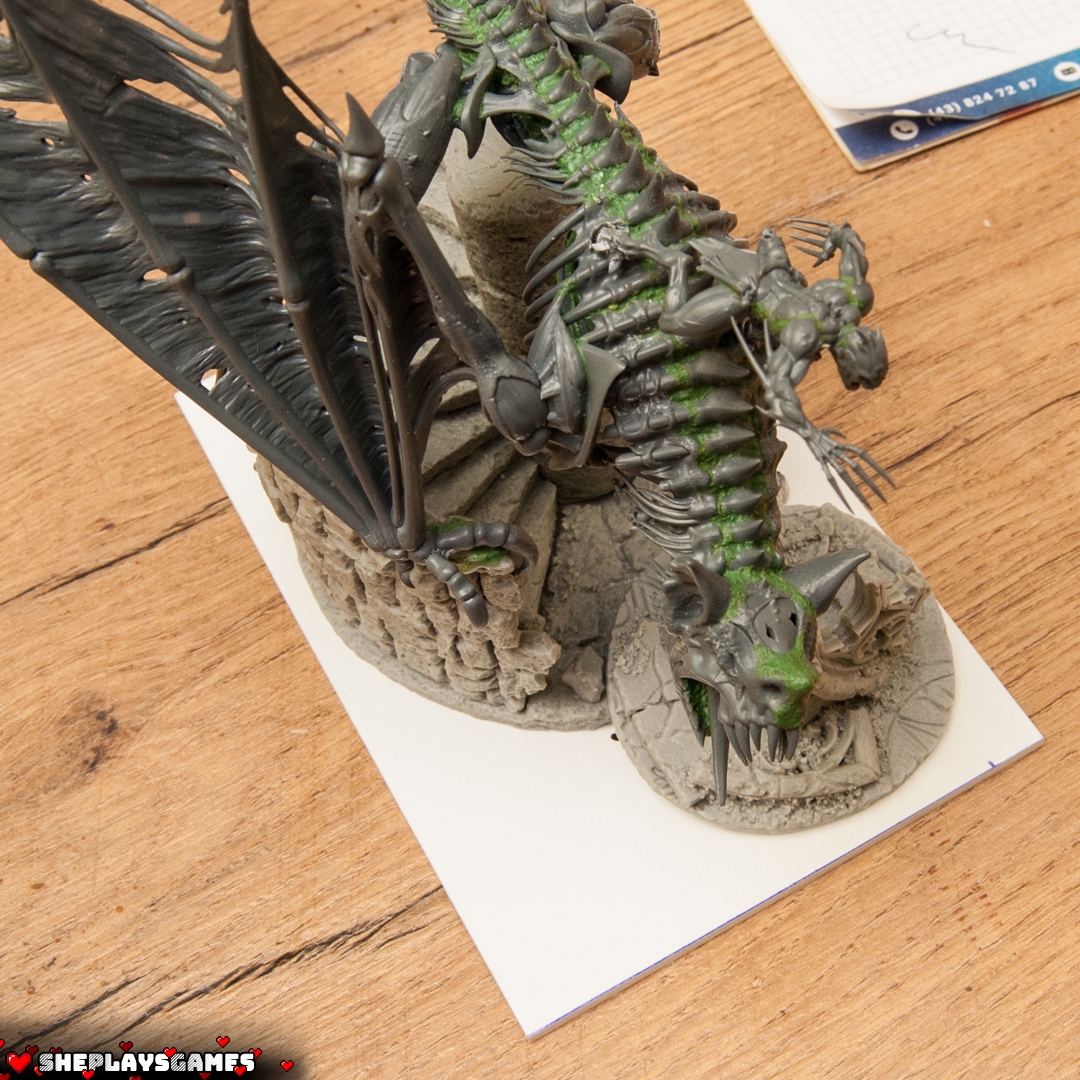
Before we begin, here’s a look at the completed project, along with a breakdown of the materials:


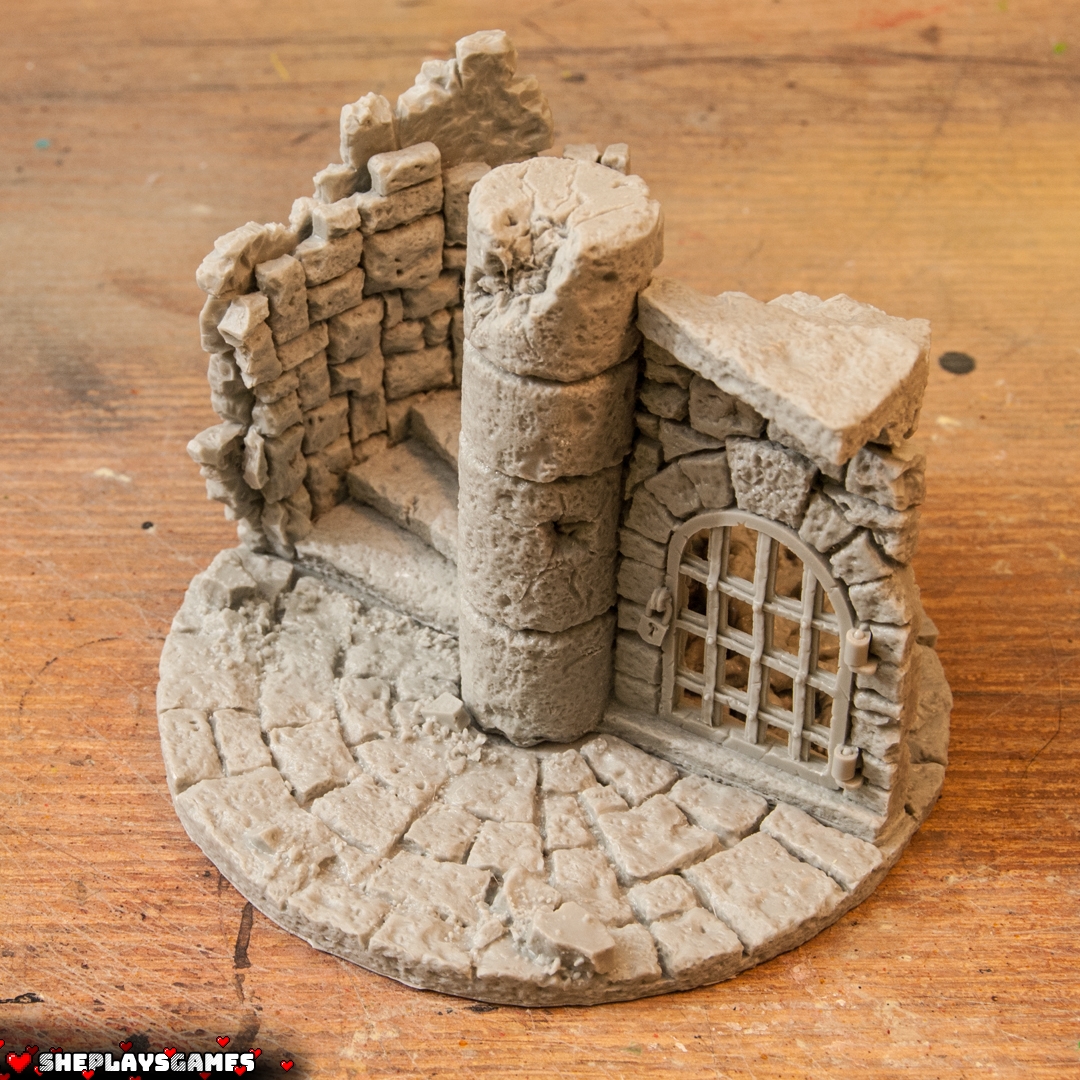
Ruins of a prison tower:
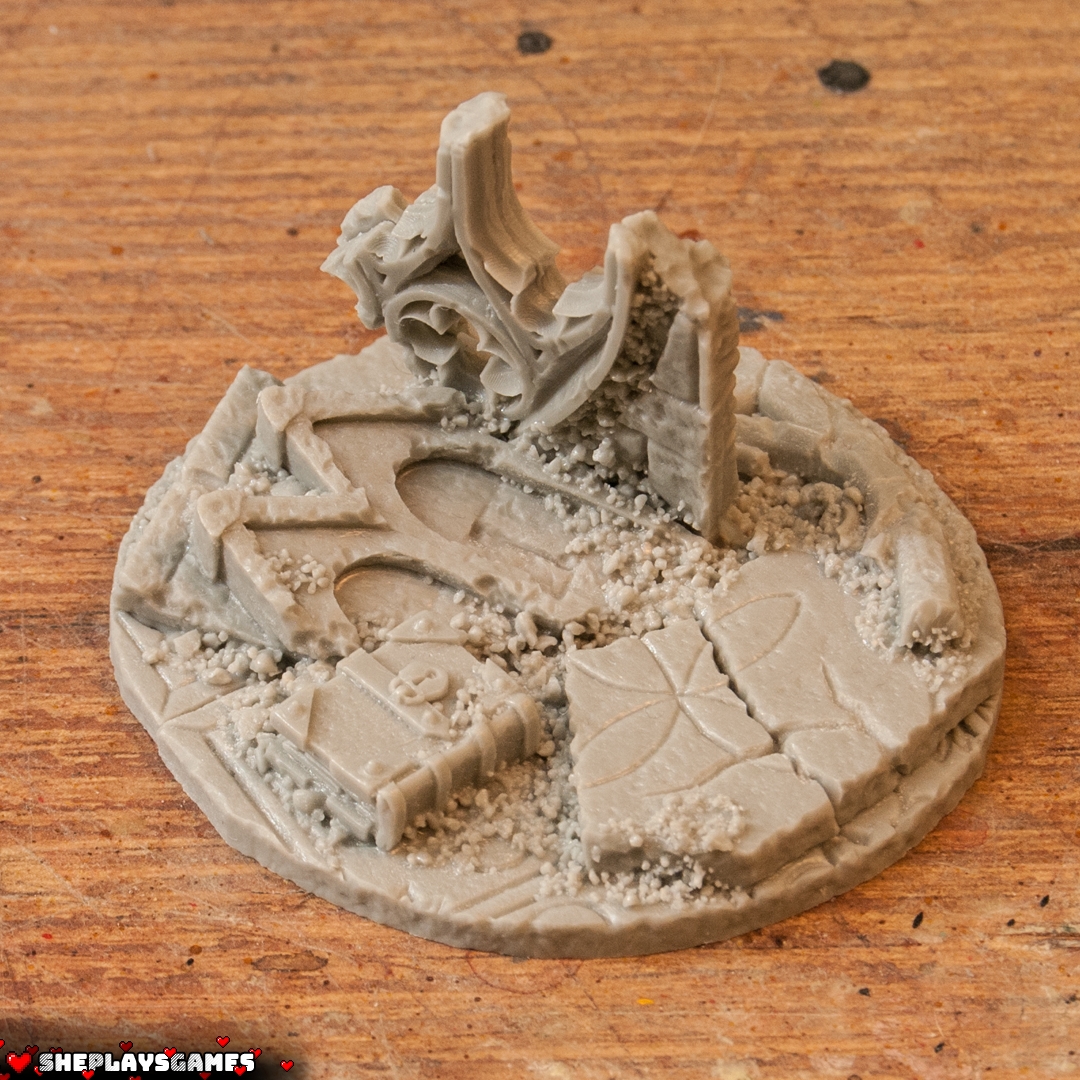
Base with cathedral rubble:
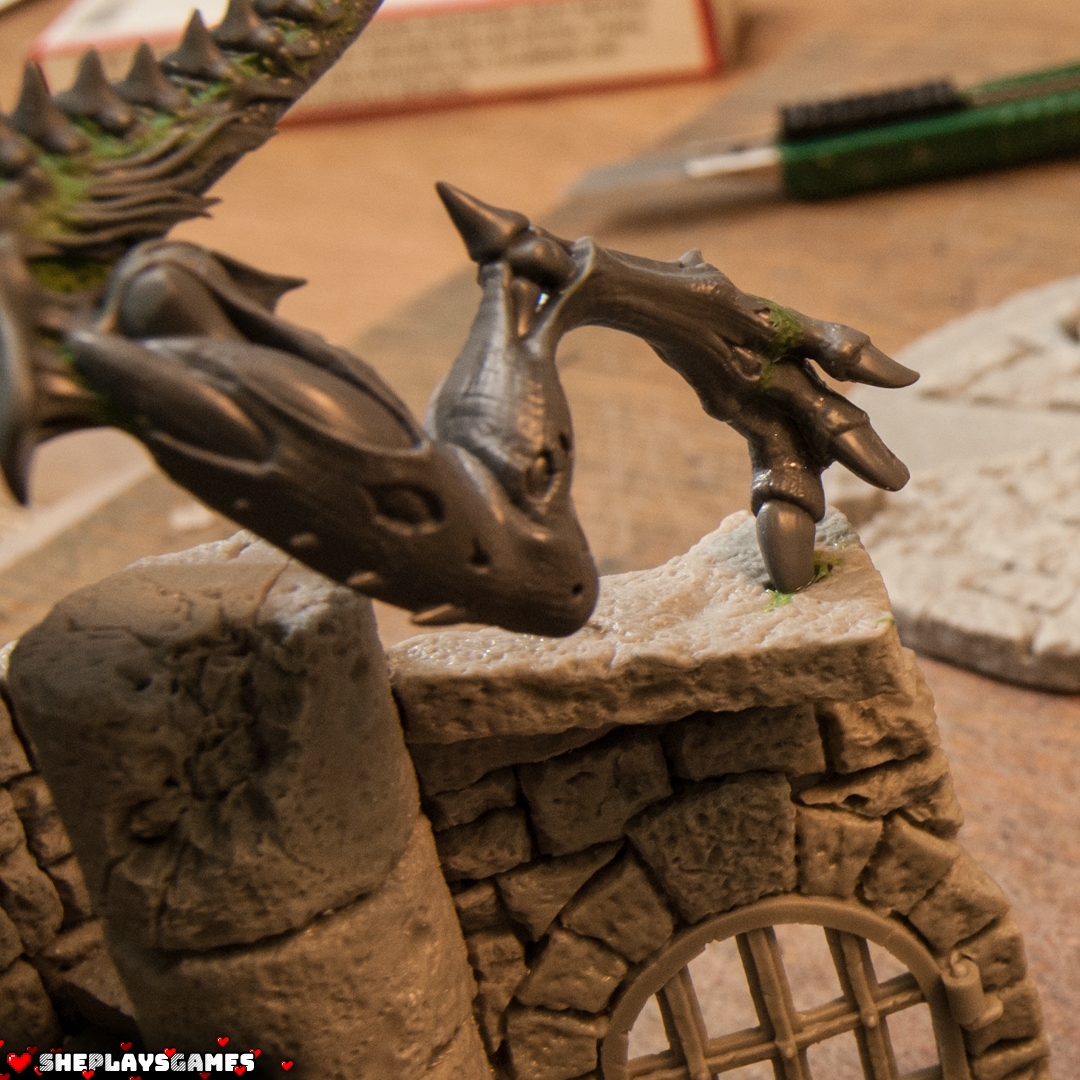
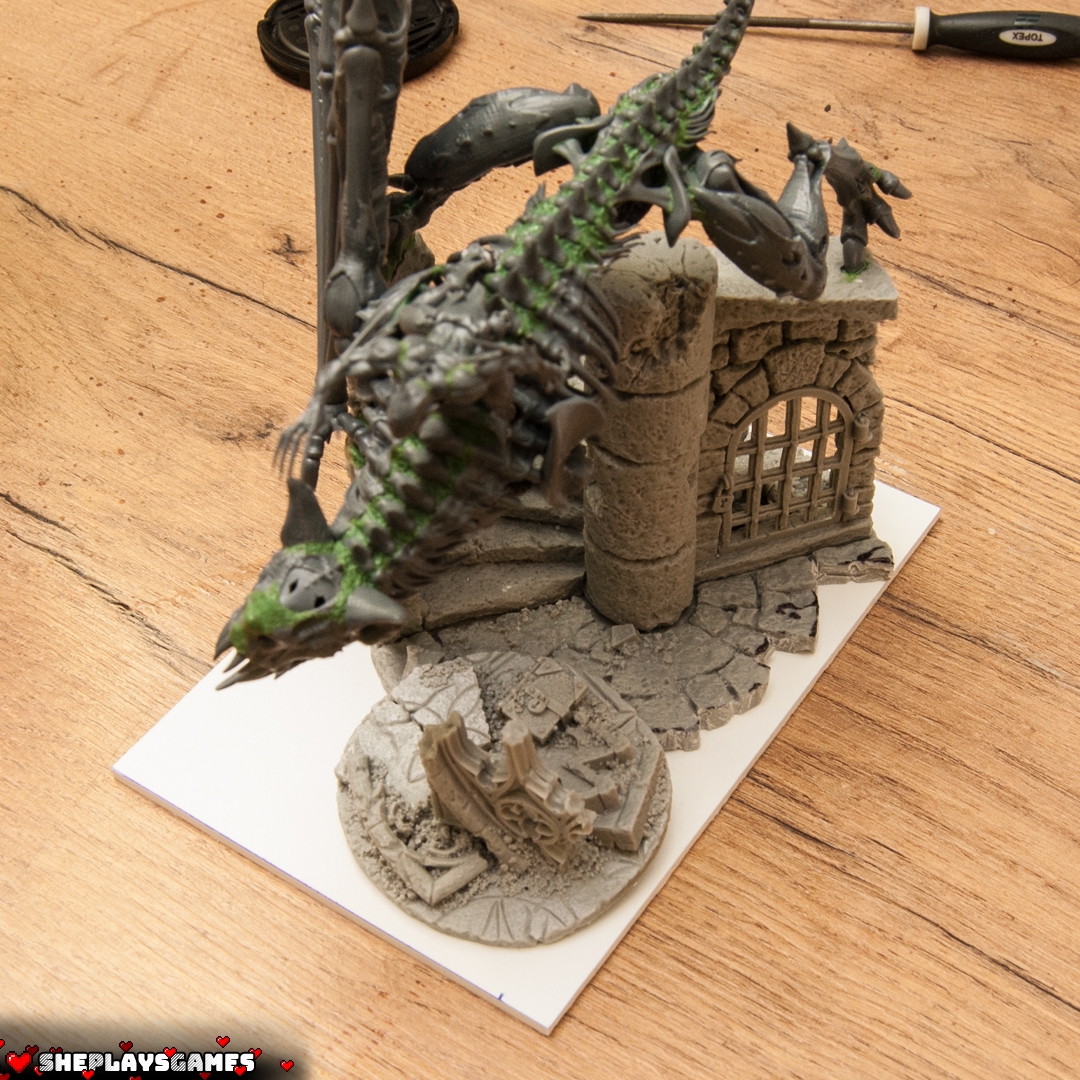
First, adjust your model to fit the terrain piece – in this case, the tower ruins.
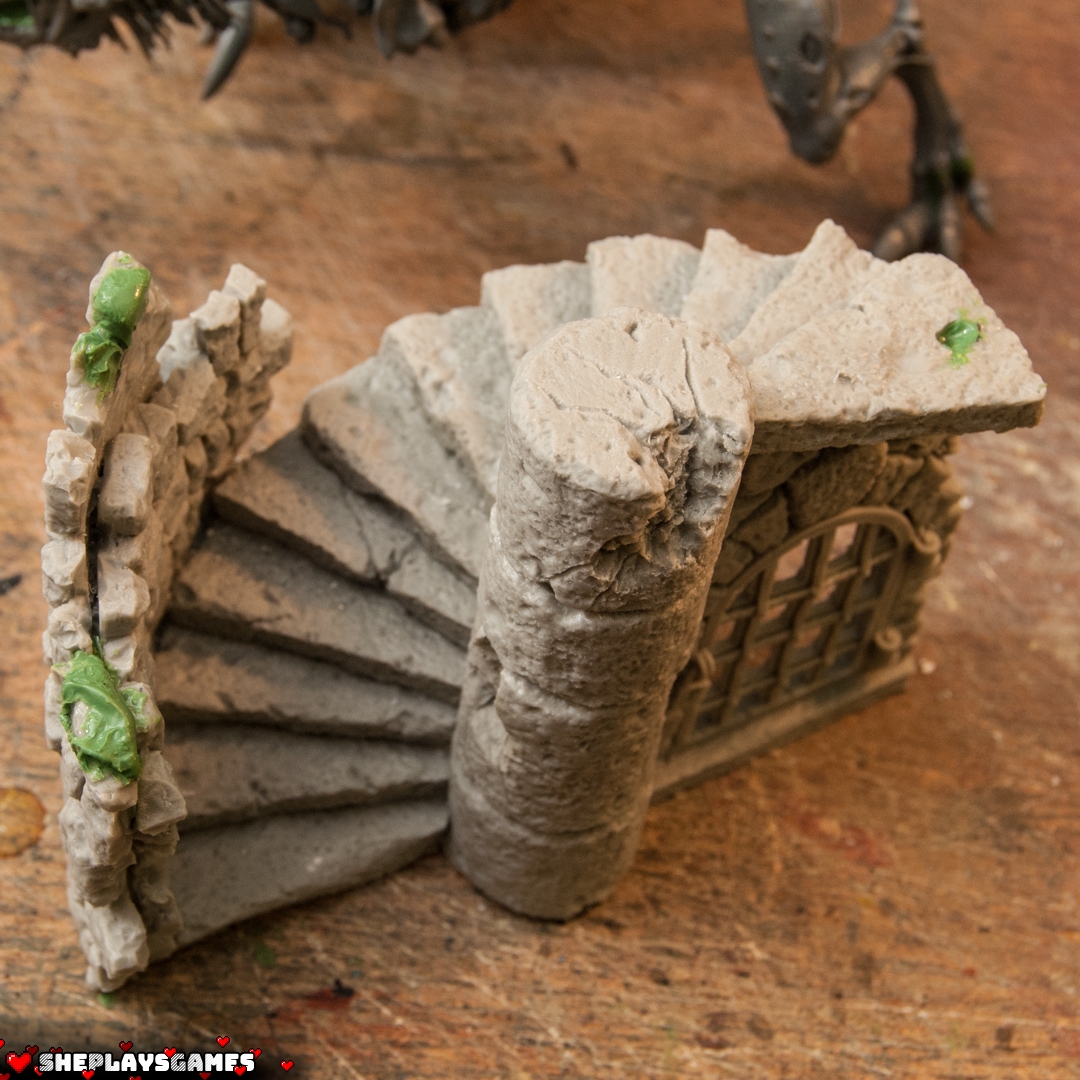
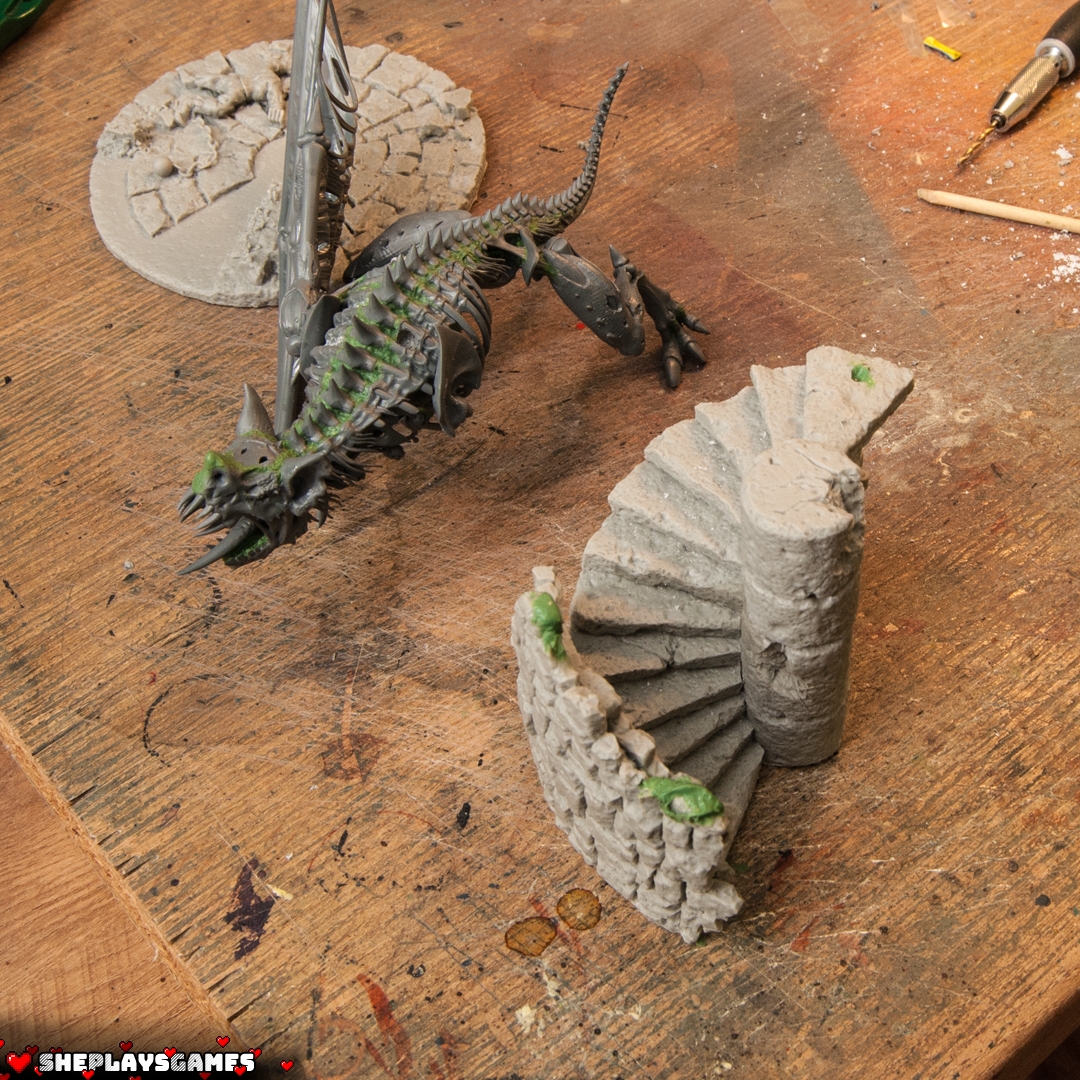
Apply green stuff to the base where the model will sit. Dampen the underside of the Terrorgheist with water and gently press it into the green stuff. This ensures a perfect fit later.
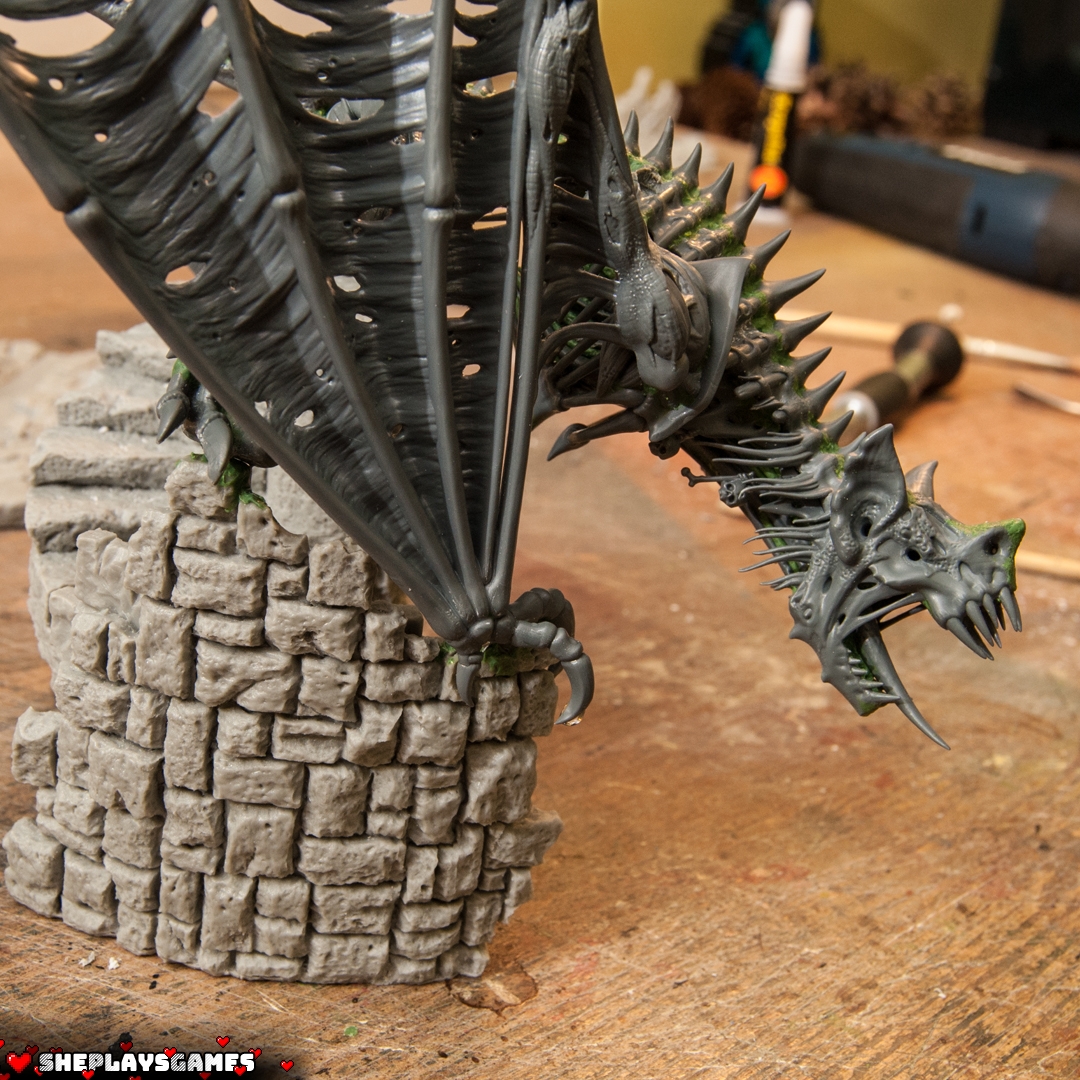
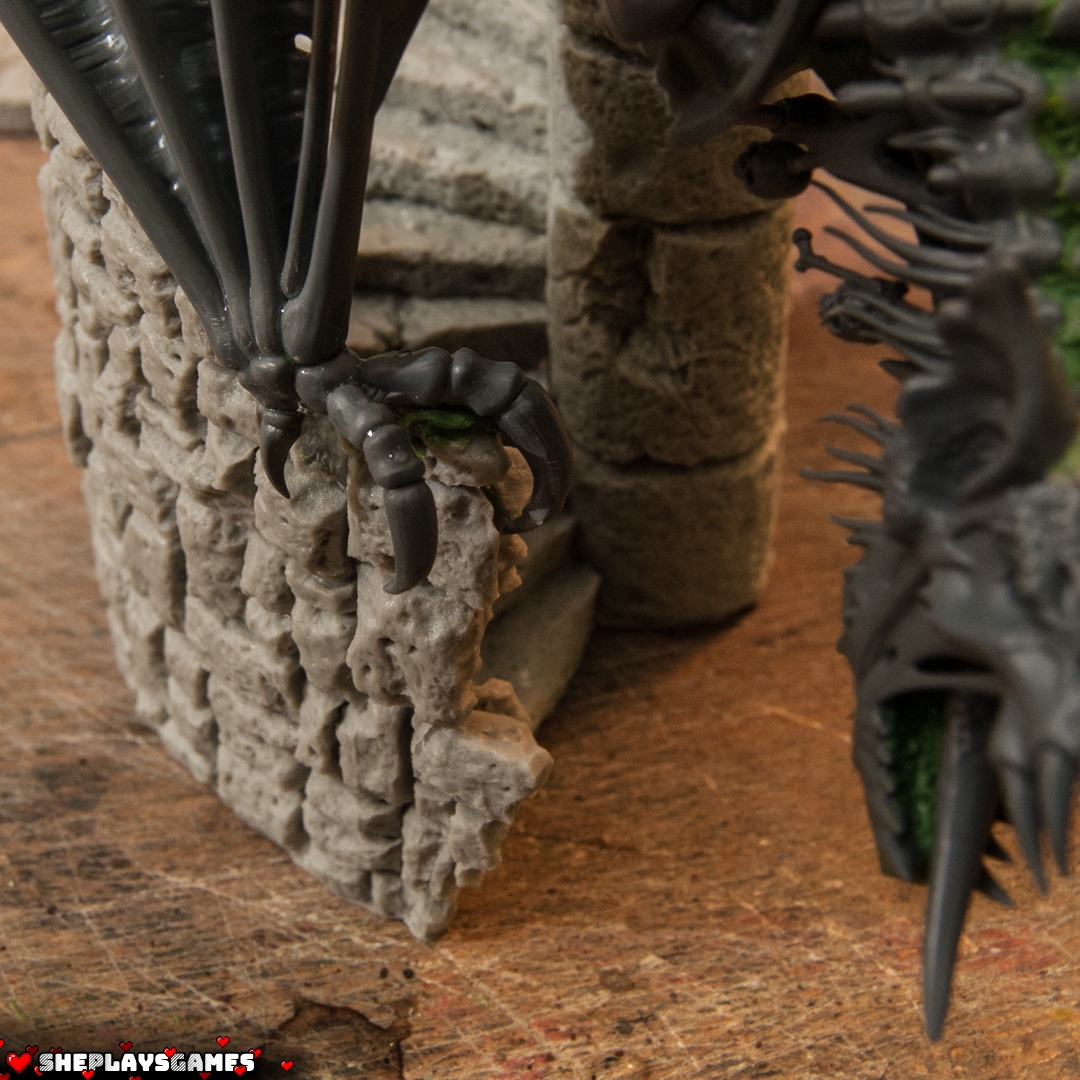
Trace and remove any parts of the terrain piece or base that extend beyond the desired size:
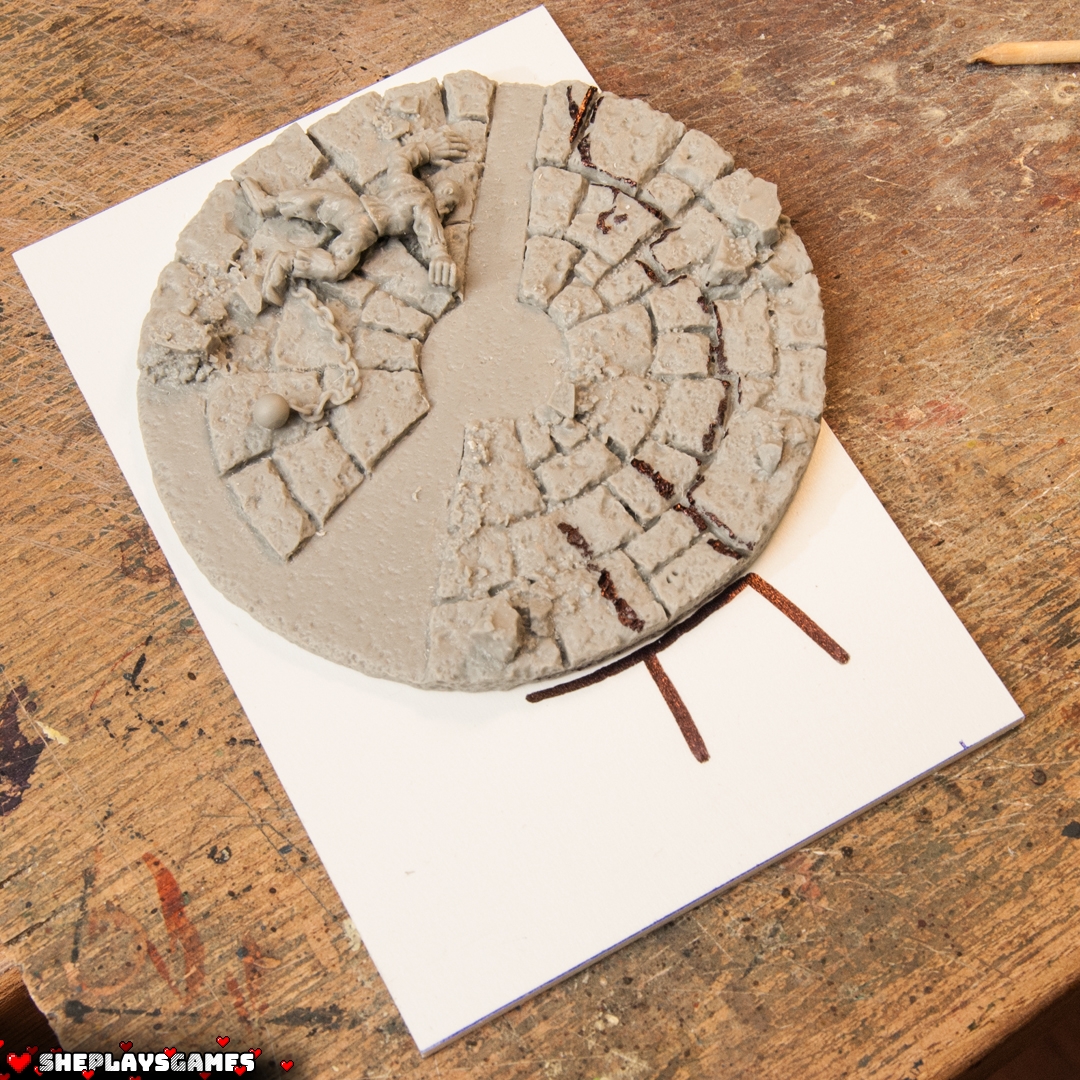
It fits perfectly! Here’s a good moment to talk about using a PVC sheet. On top of the standard base, I like to add a bit of elevation. It doesn’t matter what brand the base is – whether it’s GW, another company, or even a 3D-printed one – working on such a large surface can cause the base to warp over time, ending up with a "boat shape." I really want to avoid that because it looks unprofessional.
My trick? I always let the PVC sheet sit for at least 24 hours before gluing it to the main base. This gives it time to settle. When I do attach it, I use a few small spots of glue. If the base warps later on, it’s much easier to fix or replace this way!
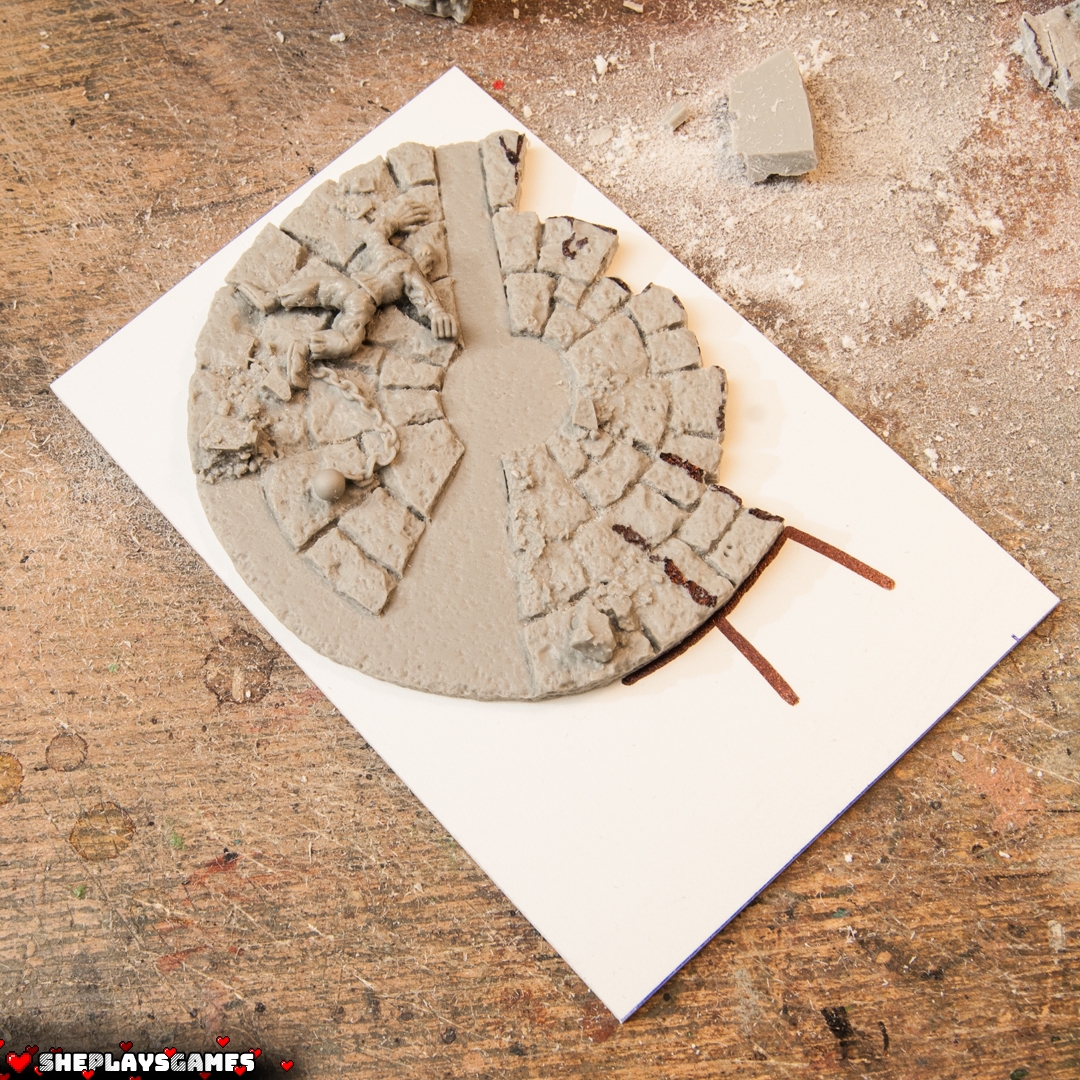
The final fitting before gluing it to the PVC sheet:
Using Milliput modelling putty, I create a base layer of dirty ground. First, I apply it across the entire surface I need.
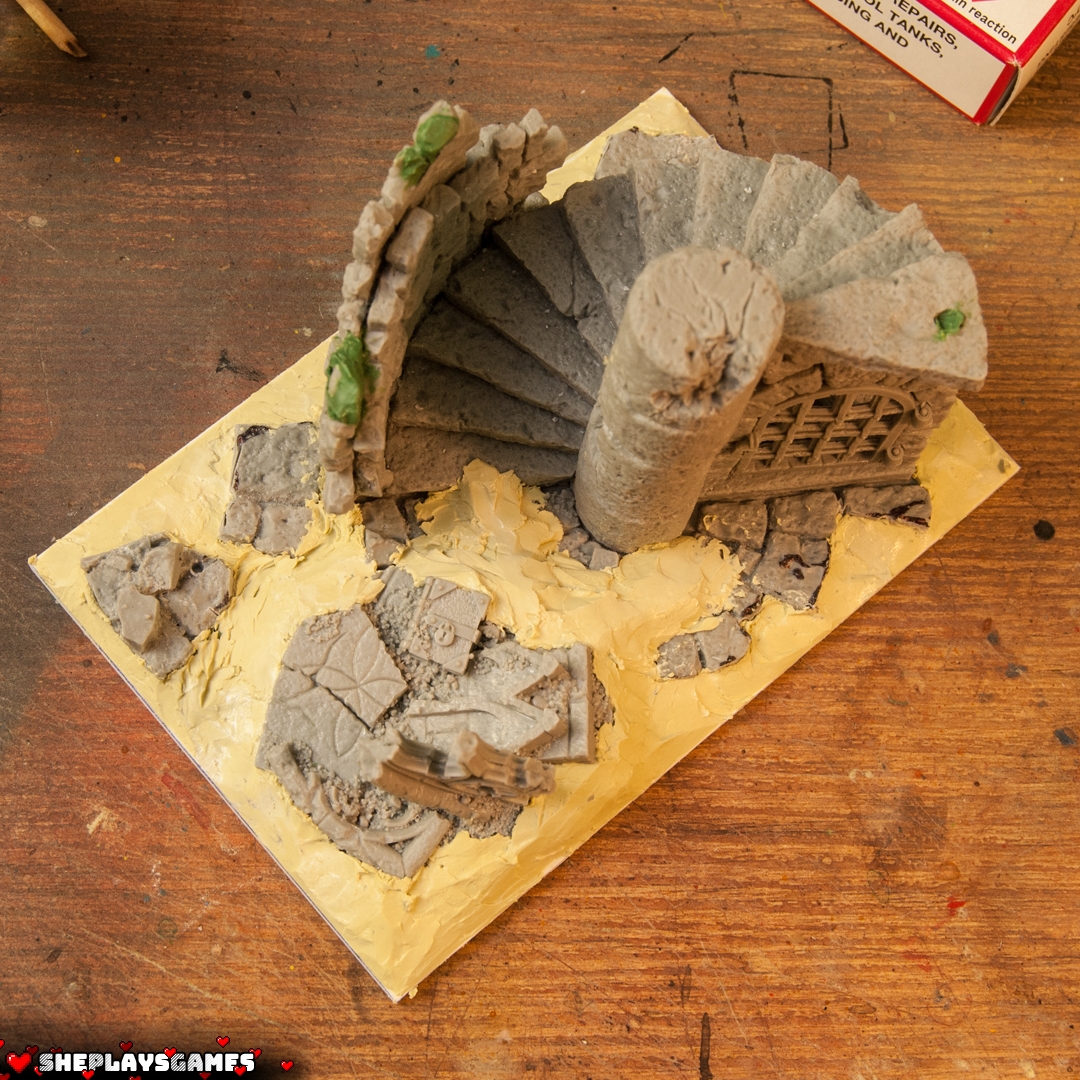
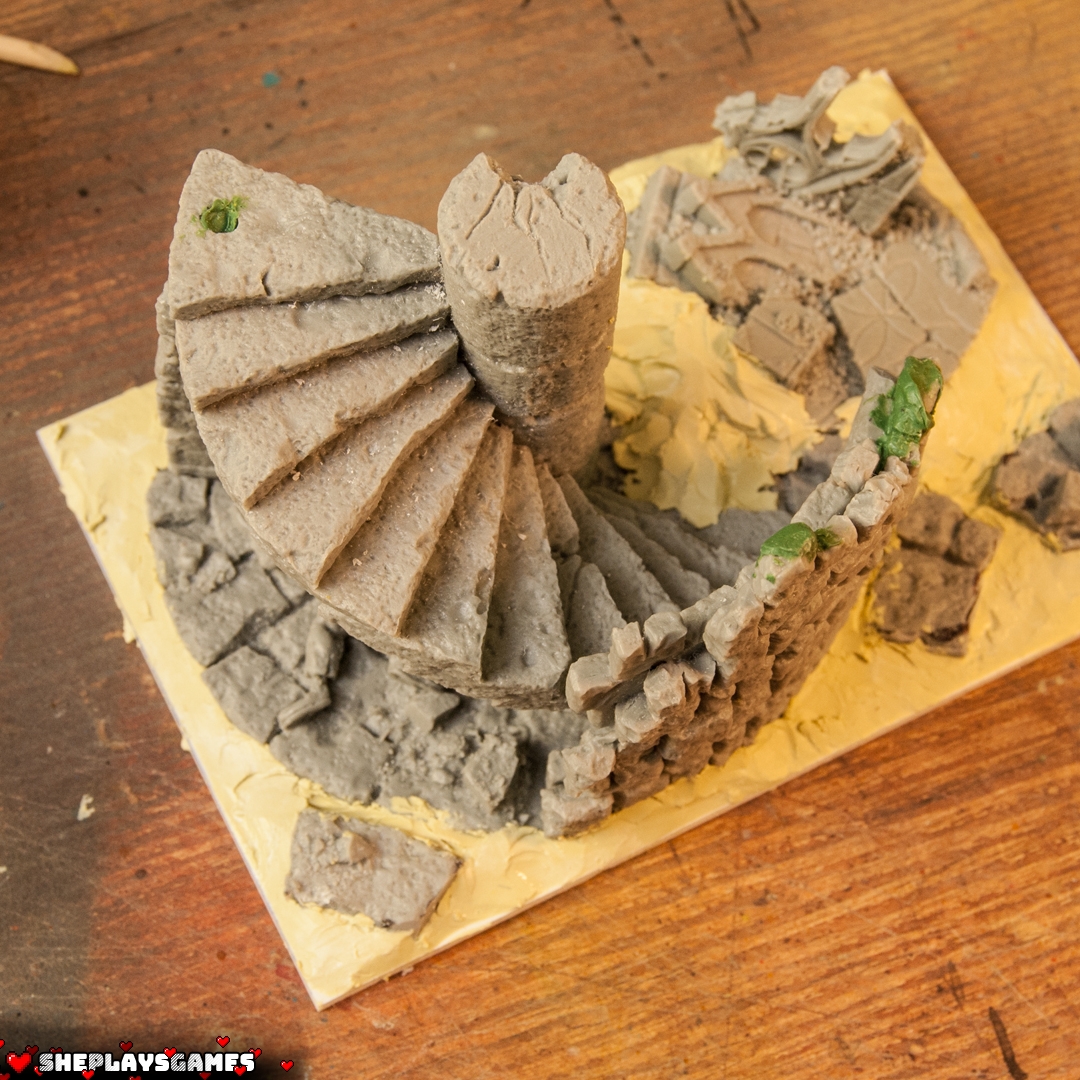
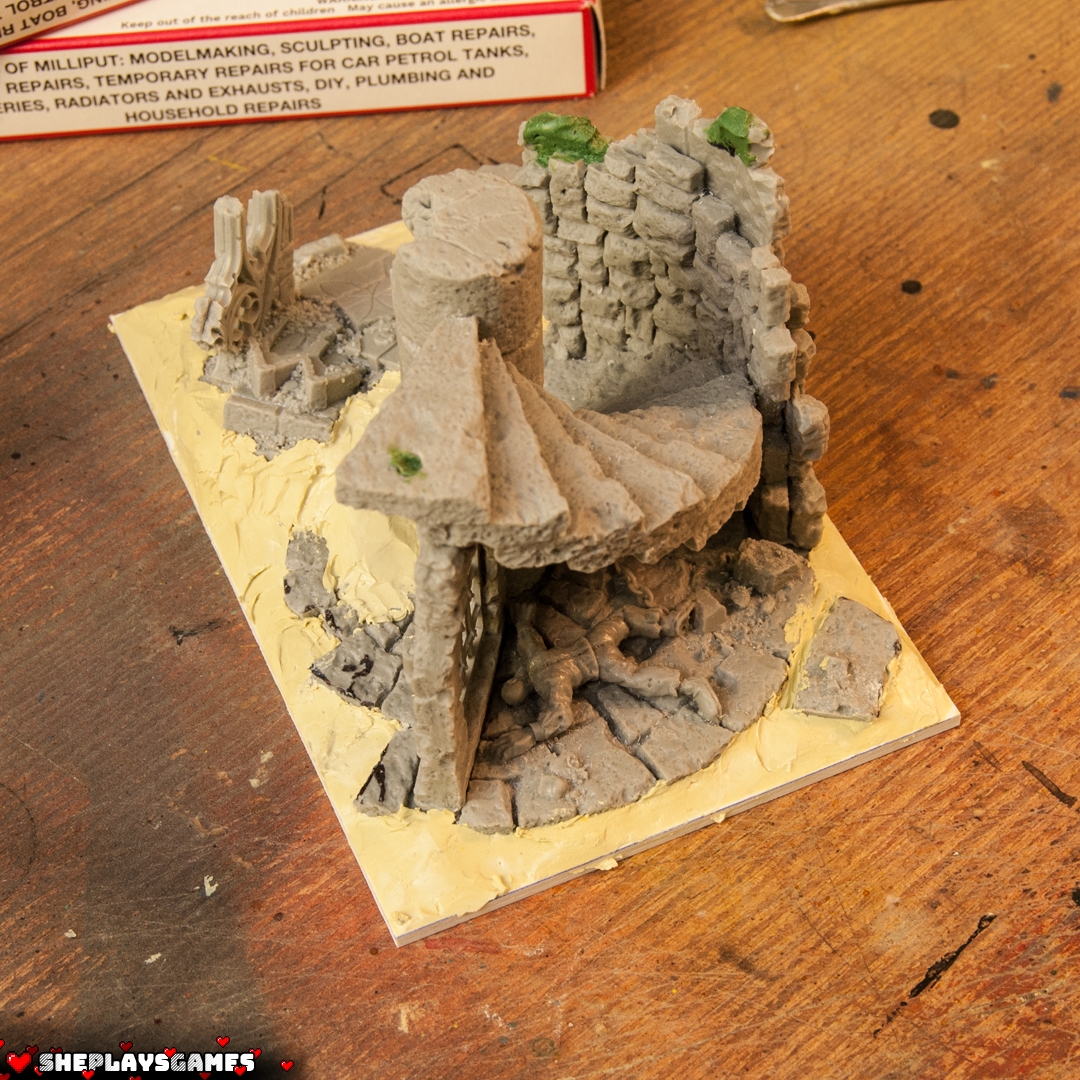
Then, I tap the surface with a damp, rough, cheap brush to create a textured, grainy effect.
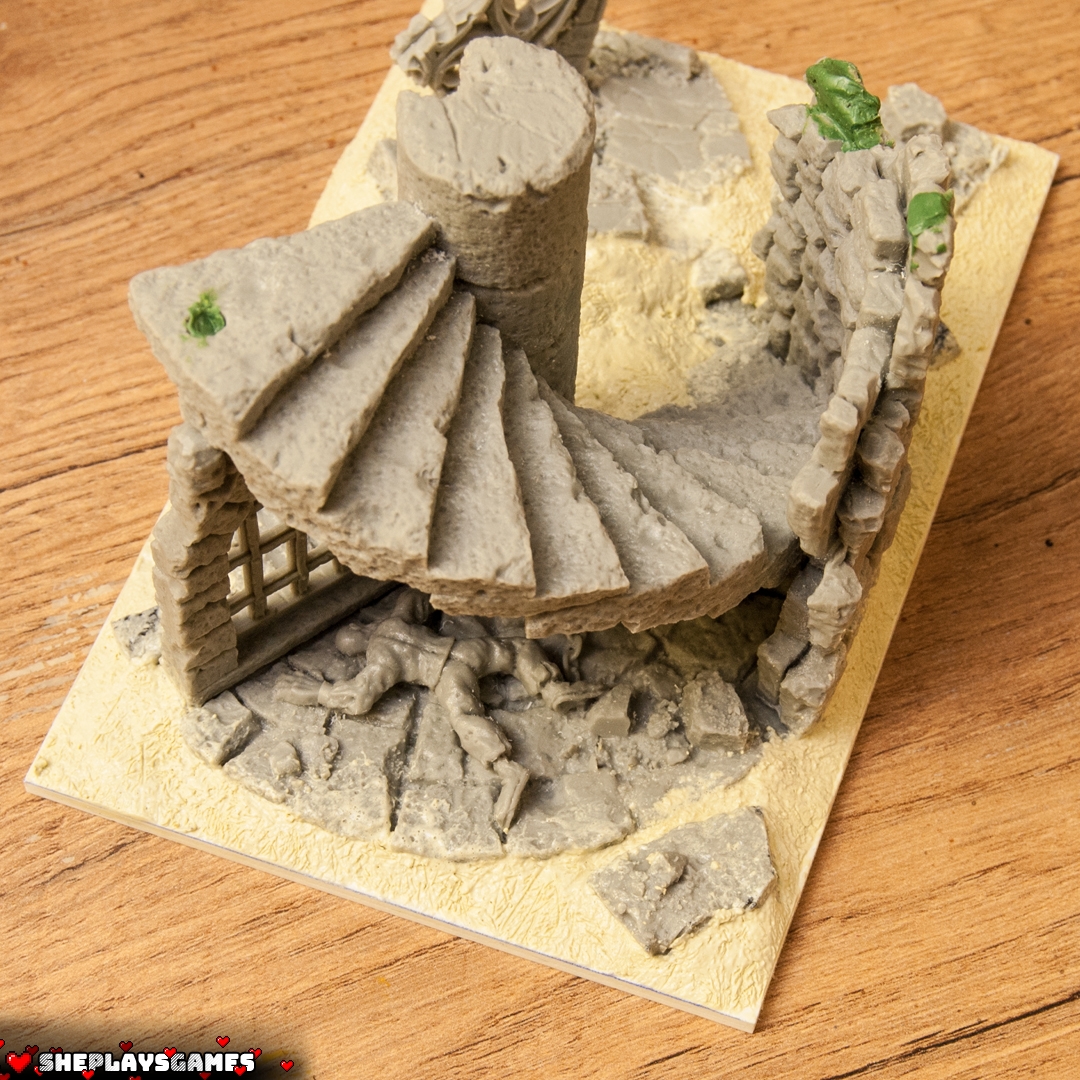
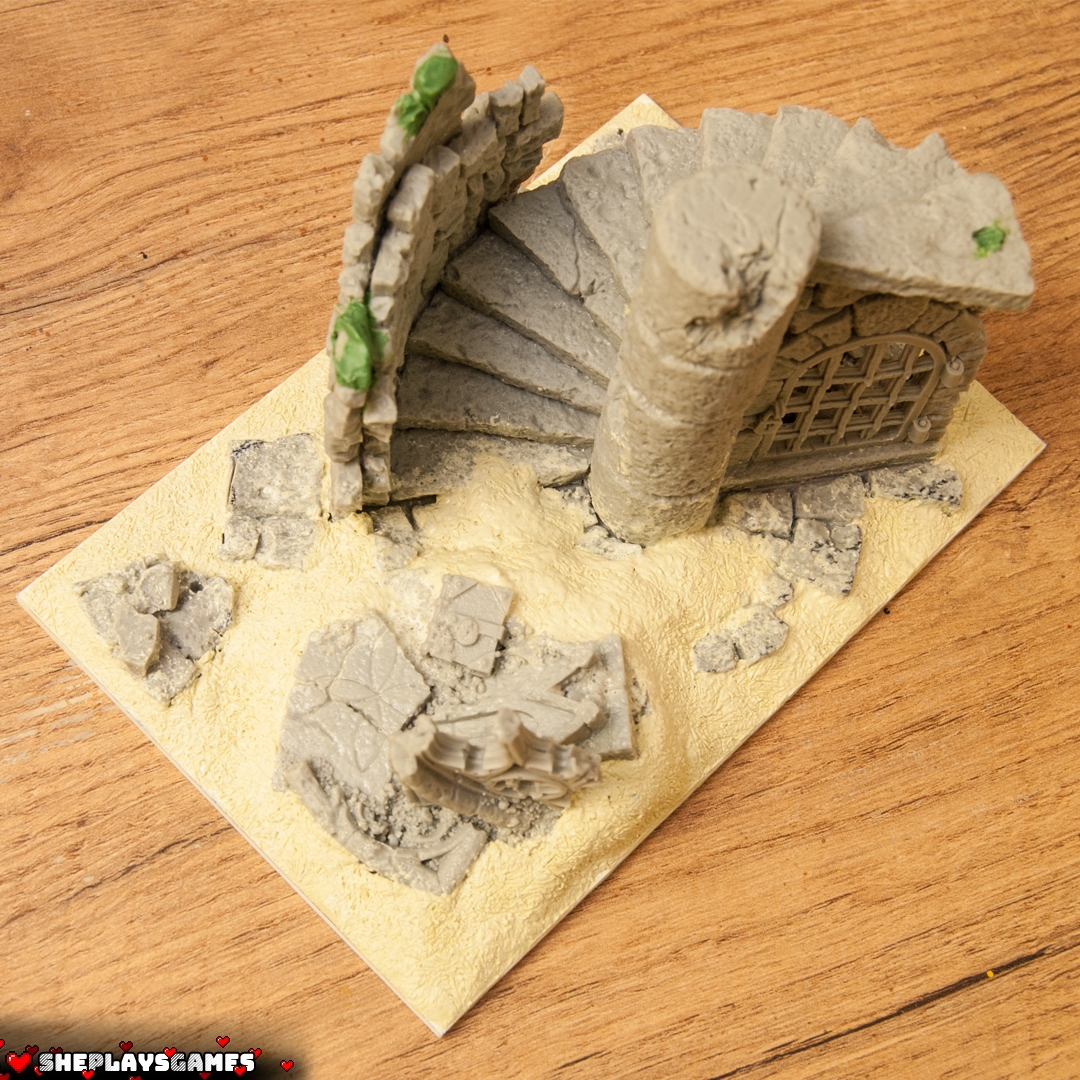
This technique easily adds variety to the ground, making it more dynamic than a plain, flat surface sprinkled with sand.
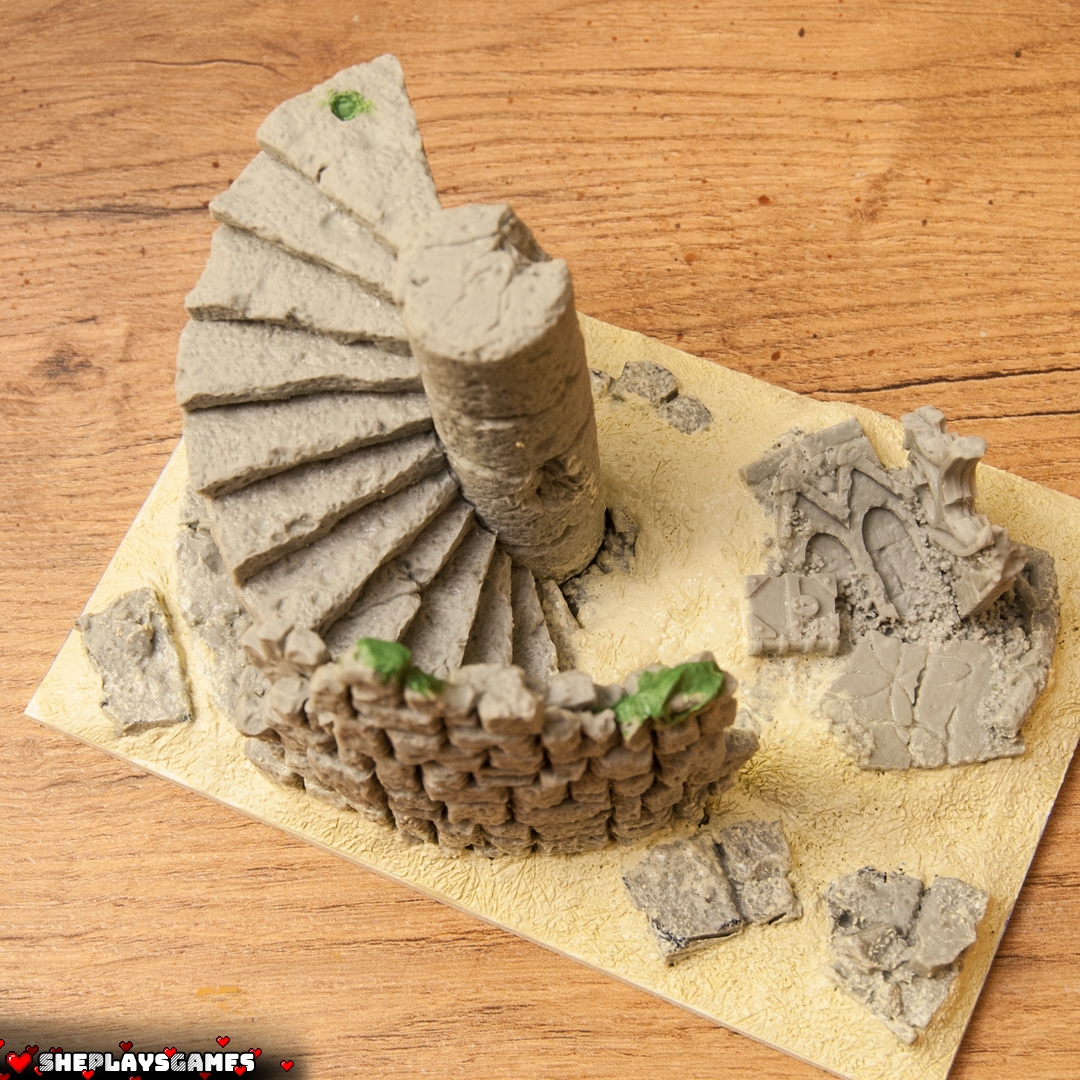
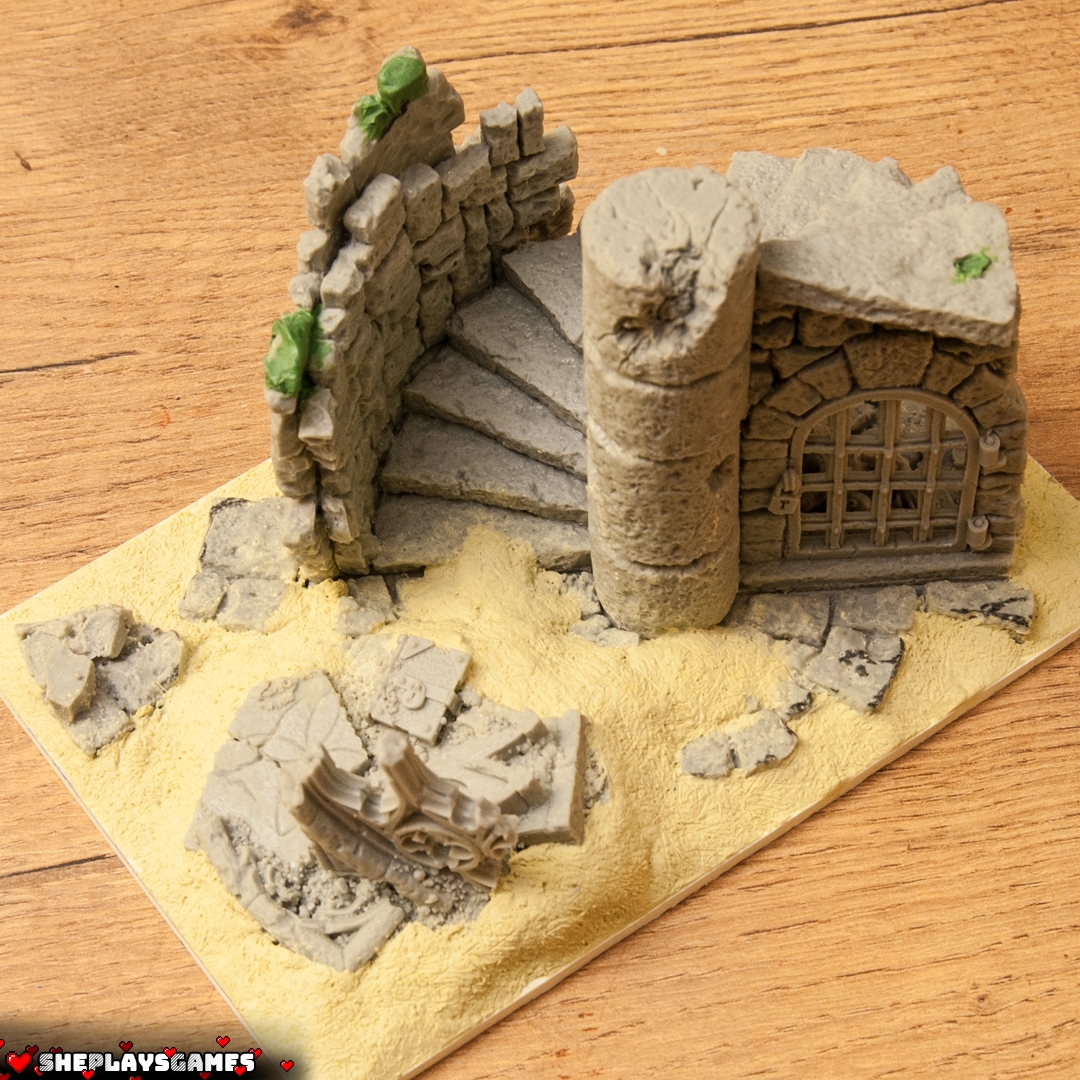
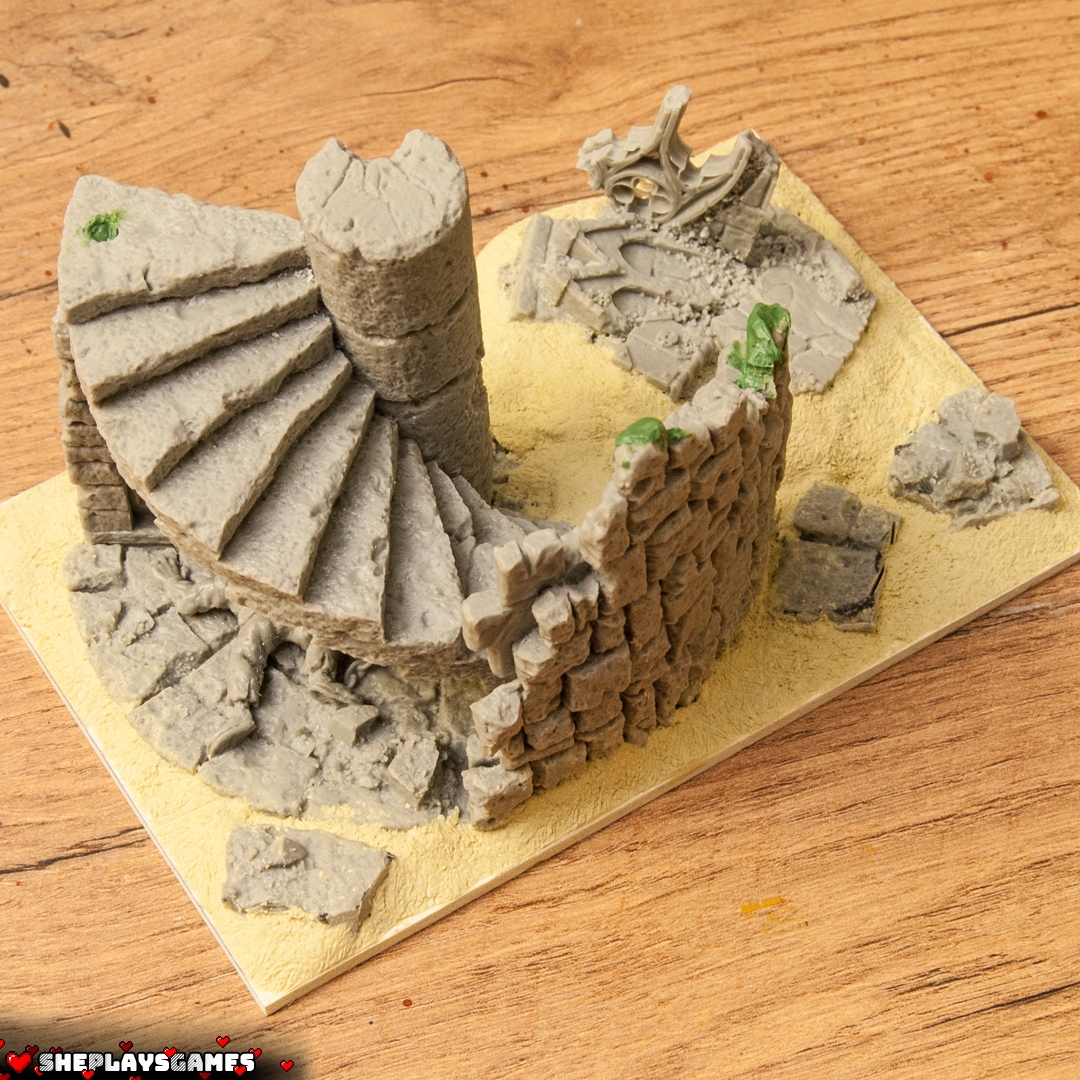
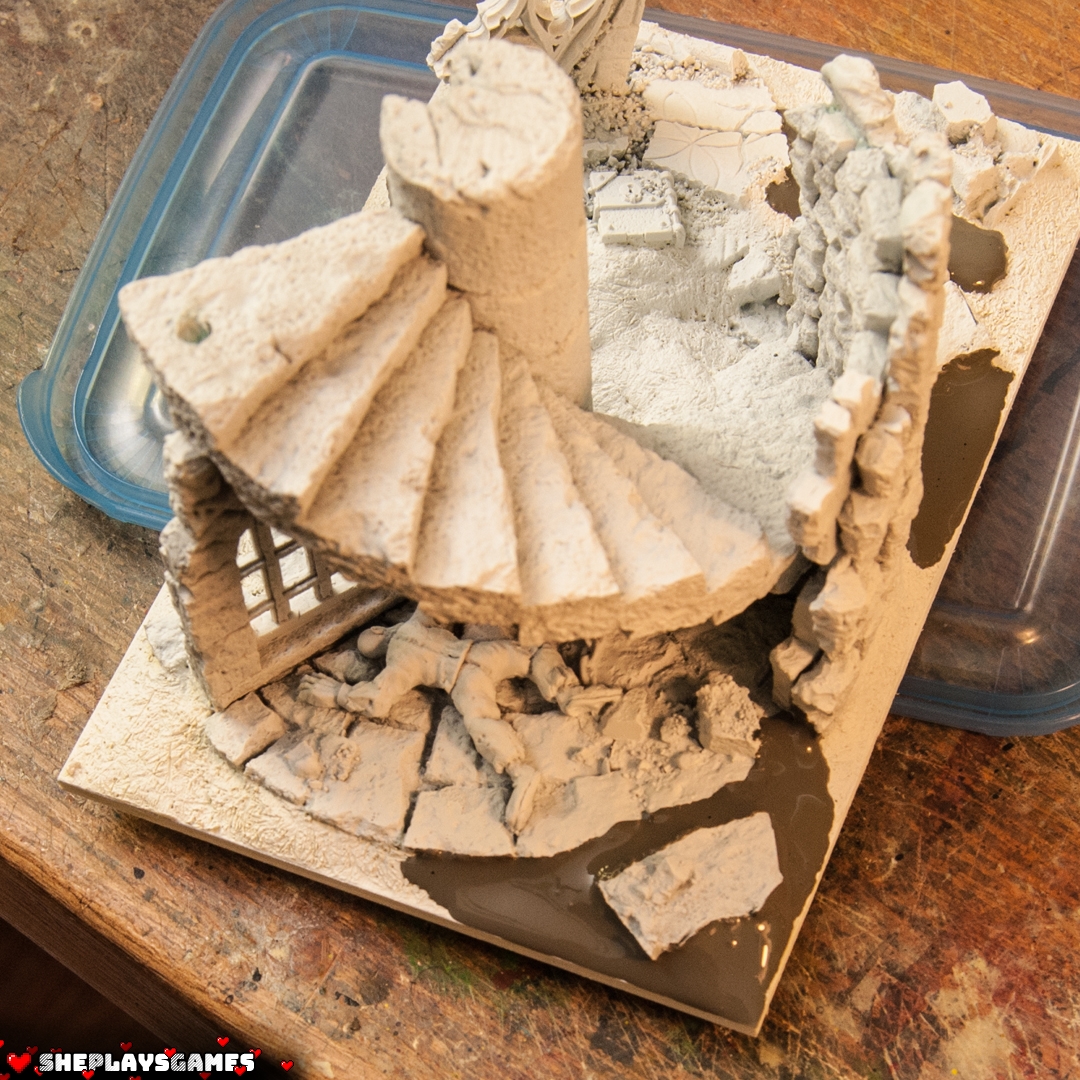
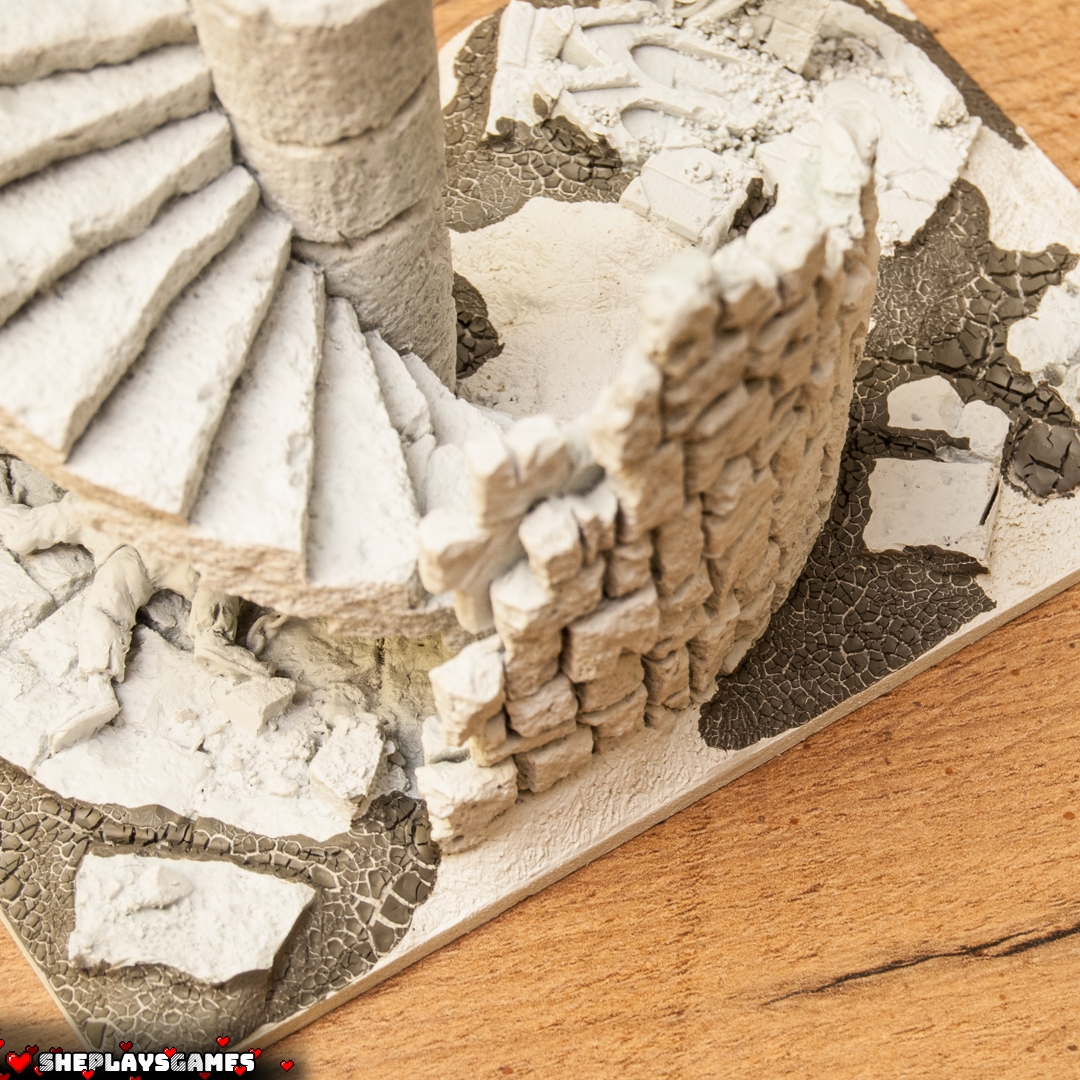
Next, it’s time to apply a coat of white primer spray followed by a thick layer of crackle effect. Leave it to dry for 24 hours for the best results.
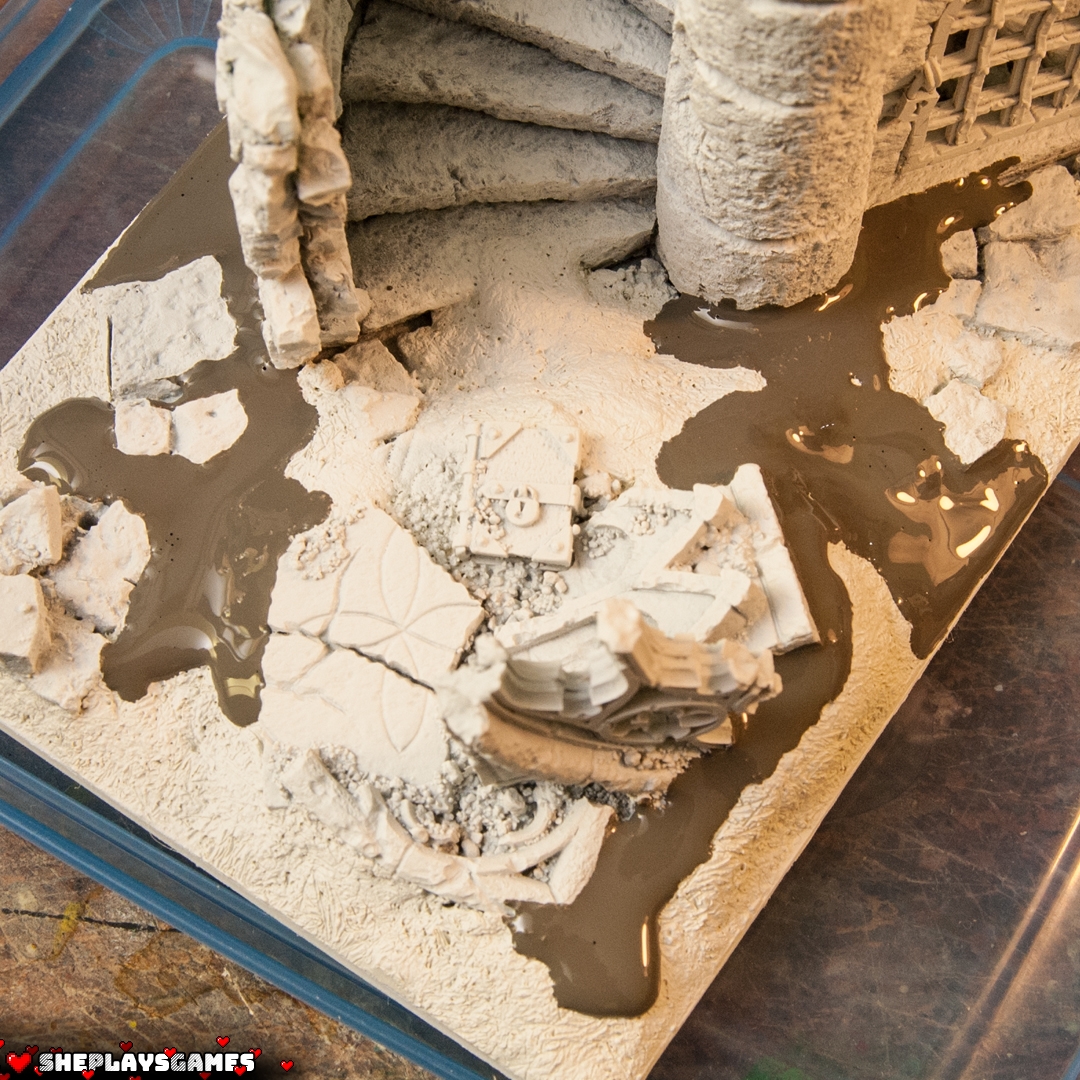
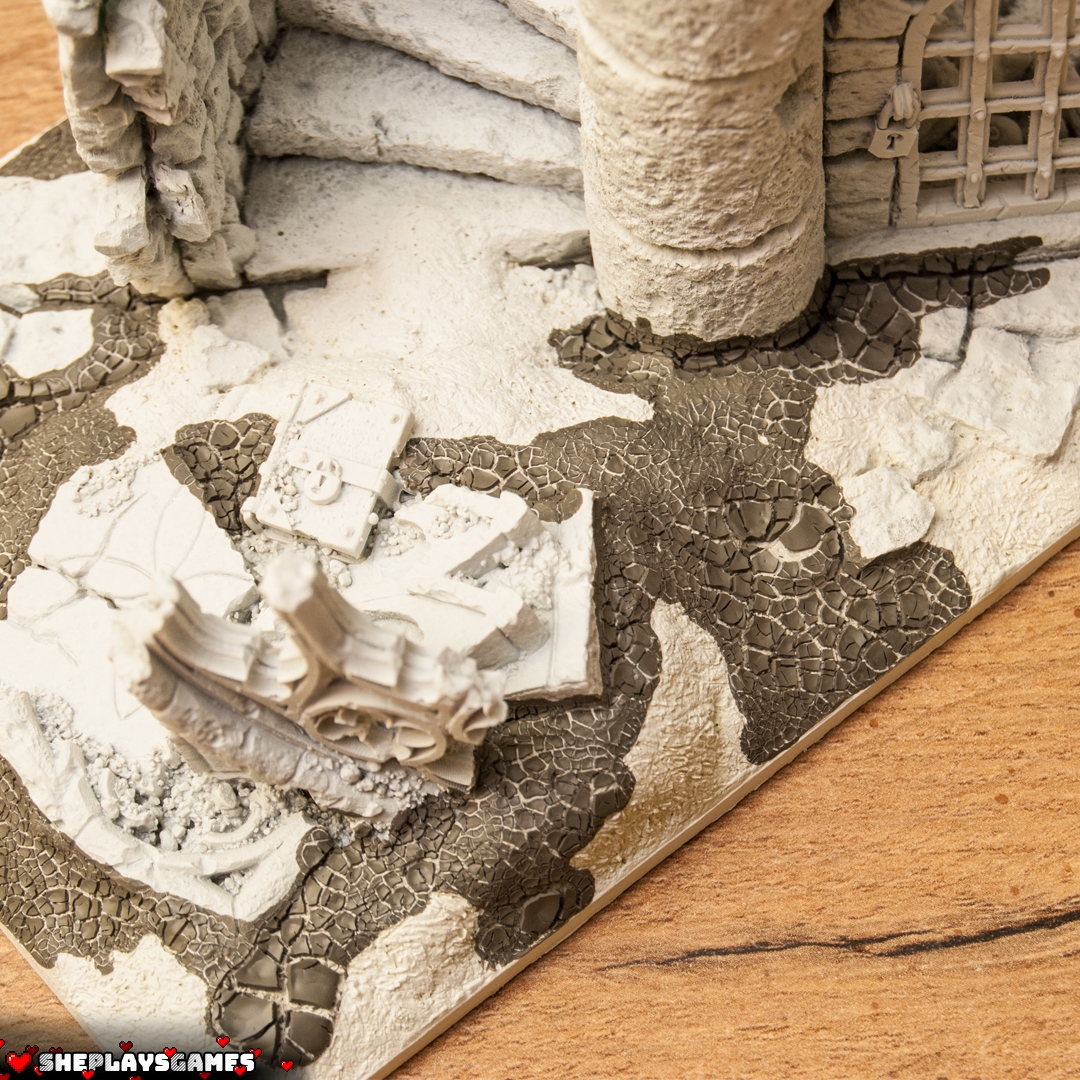
Always apply the crackle effect on top of primer. This helps it adhere properly and prevents it from flaking off later. The thicker the layer, the bigger the cracks – don’t skimp!
Here’s how it looks, all set and ready for painting:
I hope this step-by-step guide was helpful. Now, let me show you how I’ve used their products in other projects over the years :)
Small Gargoyles


Birds


Gravestones featuring a lady, monk, knight and king


Wooden Chests:


Candles:


You can also combine MiniMonsters pieces with your own custom elements, like I did with handmade gravestones:
Here are some examples of other terrain elements:


